Category Archives: Recipes

Cashew and Sunflower Seed Maple Cinnamon Butter

My home internet is out for the next two weeks so my posting is going to be a bit sporadic.  The weather in VT was amazing this weekend.  Jason and I went hiking Sunday in Woodstock at the Marsh-Billings-Rockefeller National Park (and our second stamp in our national park’s book).  It’s a gorgeous park with easy hiking trails – definitely a great way to spend a few hours if you are ever in Southern VT.

I also spent some time on Sunday preparing my food for the week ahead.  I tend to use Sunday nights to prepare some essentials for the week – like cleaning greens, chopping or shredding veggies for salads, and making nut butter.  I found a super simple recipe a few months ago and now make nut butters at home instead of paying $$$ for less than stellar products at a store.

Pretty much this recipe can be altered for any kind of nuts (I’ve made almond butter and walnut butter).  Just have some patience when making the butter – timing depends on the type of nut you use.

Be warned – this concoction is amazing!  I can’t stop eating it.

Ingredients:

  • 1 1/4 cup of sunflower seeds
  • 3/4 cup of cashews
  • 1/2 tsp of honey
  • 1/2 tsp of maple syrup
  • a dash of salt

Start with nuts and seeds in food processor

About 90 seconds after beginning to process

It will look like this around 3 minutes

At 4 - 5 minutes it will look like this

At 6 minutes in

Around 8 minutes it starts to redistribute but keep going until the oils release

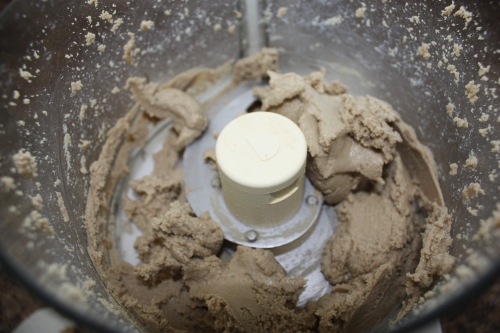
At 10 minutes the nuts release their oils, and the nut butter is ready. if you want to add the honey and maple syrup stir in by hand now.

Greenalicious

After perusing the blogs this morning, I became inspired to channel my inner-Irish and hop on the green-food train.

I adapted Angela’s Savory Zucchini Muffins into Savory Zucchini Bread

I pretty much followed Angela’s adaptation pretty closely.  Check out her posts for exact measurements.

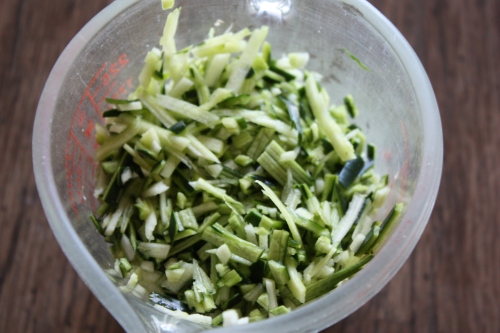
1 cup of grated fresh zucchini

Mix dry ingredients together - flour, salt, italian seasoning, nutritional yeast, & baking powder

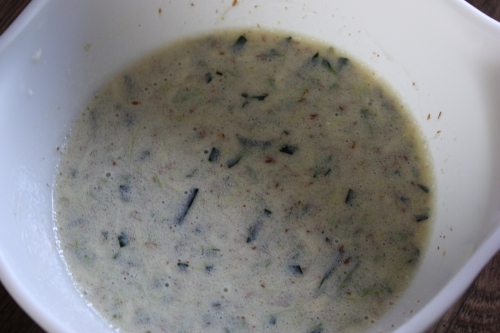
Mix wet ingredients together - non-dairy milk, canola oil, flax egg, & grated zucchini

Then add wet ingredients to dry and mix together

Oven should be pre-heated to 400 degrees. Then add dough to bread pan.  Cook for 22 – 25 minutes.  Take bread out of pan and cool on rack for 10 minutes – then ENJOY!

Thanks Angela! This is delicious!

As good as Apple Pie

My mission: Homemade Apple Pie

My mentor: Martha Stewart

After my failed attempt at yoga, I realized to process my stress an activity was needed that included music, food, and wine!  I waited till noon to begin – both the apple and drinking wine.

A few Christmas’ ago, my mom got me Martha Stewart’s Cooking School: Lessons and Recipes for the Home Cook.  I love this cookbook.  I sat down and read it cover to cover the first few days I had it.  It covers all the basics – cutting techniques, pairing spices, and traditional recipes.

I knew Martha would be a great guide on my request to make a homemade apple pie.

First up: dough

Process dry ingredients in food processor: flour, sugar, and salt

Add butter - pulse until coarse crumbles form

Add water and pulse until dough just holds together when pinched

Turn dough onto clean work surface – knead once or twice to incorporate loose pieces.  Divide dough in half.  Pat into a thick disk – and wrap each disk in plastic wrap.  Refrigerate for at least one hour.

PREPARE FILLING

While the dough chills – I put together the pie filling.

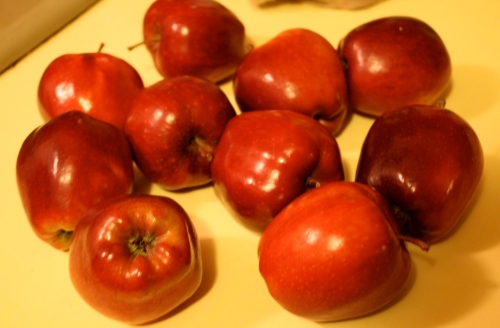
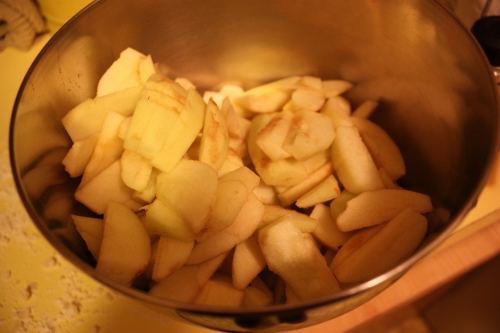
about 2 lbs of apples are needed - use a variety or just one kind - peel and core all the apples

Put sliced apples in large bowl - add sugar, a pinch of flour, lemon juice, cinnamon, ginger & salt

Mix the apples and rest of the ingredients well – let them sit in the fridge while the dough finishes chilling.

ROLL OUT THE DOUGH

After the dough has chilled (for at least an hour), Martha shares some helpful tips on rolling out the dough: make sure the room you are working in is cool, keep the dough cool but let it sit out for 10 minutes before rolling it out, make sure not to use too much flour – too much flour with toughen it.  I floured the work surface and the rolling-pin – and rolled out the dough. Now my dough does not look as pretty as the pictures in the cookbook.  The thickness of the rolled out dough should be 1/8″.

One disk of my dough rolled out.

ASSEMBLE THE PIE

After the two disks of dough are rolled out – it’s time to put together the dough.  Roll one section of the dough – around the rolling pin, and unroll it over a 9″ glass pie plate.  Press the dough to fit into the pan – if there are excess hanging off the pan just leave it there right now.  Next add the filling – and dot the filling with sections of butter (in total about 1/2 stick of butter).  Roll the remaining section of dough on top of the filling.

Next - trim excess dough to about 1", press edges of the dough into the pie plate, then make several slits in the top of the dough

After the pie is assembled, refrigerate it for 20 minutes.  While the pie is in the fridge, pre-heat the oven  to 400.

The recipe calls to whip together an egg yolk and cream to brush on top of the pie.  I didn’t have that so I brushed a bit of olive oil on the top pie crust and sprinkled a pinch of sugar on it.

I placed the pie on a baking sheet to catch any excess juice while cooking.  After 10 minutes, reduce the heat to 375.  Then cook for 70 – 85 minutes.   The top crust should be golden and the juices bubbling.

The recipe says to let the pie cool for at least 4 hours – well my hubby couldn’t wait.  So he tore into the pie after an hour – it was a bit watery/juicy – so I would suggest letting it cool for the full 4 hours.

Pretty successful first attempt.

A Fridge Full of Veggies

Last night I discovered a fridge full of veggies on the brink of beginning to go bad – this is a typical find in our home.  More often than I’d like, I hit the grocery store (WEGMANS – woot, woot) without a plan and wing it as I move through the sections – needless to say, I usually over purchase and at the end of the week have plenty of produce that need to be used ASAP.

What’s the perfect way to use up a bunch of veggies without much work?  Well a winter stew of course.

Kristina’s Throw All Veggies in a Stew

Ingredients:

  • Whatever veggies you have in the fridge (probably 2 -3 cups)
  • 1 cup of grains
  • 1/2 cup of beans
  • Oil, Garlic, Onion
  • Tabasco Sauce, Soy Sauce, Worcestershire Sauce, Turmeric, Cumin, and Cayenne Pepper (or improvise), Salt & Pepper
  • 3 – 4 cups of veggie broth

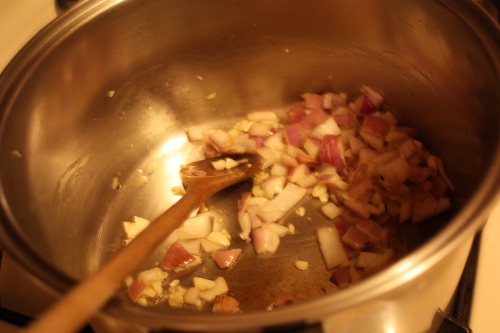
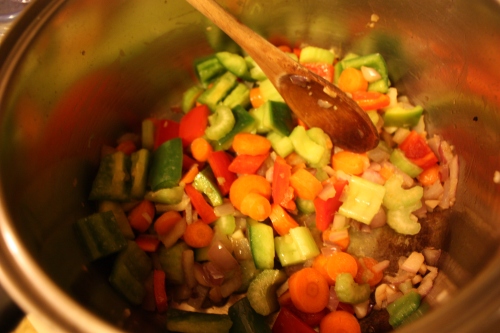
Begin by adding a few tablespoons of oil (I used EVOO) to a large soup pan on medium heat – add a few cloves of garlic minced and 1/2 onion finely chopped.  Saute until onions become translucent. Then add veggies – I used 1 green pepper, 3/4 red pepper, 3 carrots, 2 stalks of celery, and 15 small mushrooms.  Saute until mushrooms become tender.

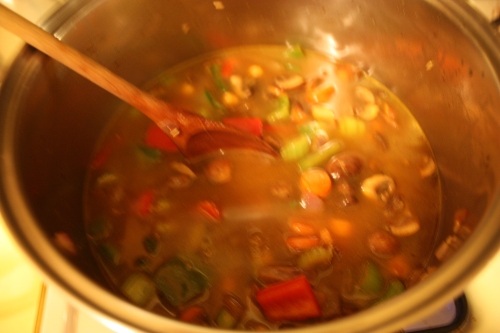
Next  – add your grain (I used brown basmati rice), your choice of beans (I used garbanzo beans), veggie broth, and seasonings (I approximately added – two tbsp of soy sauce, a strong dash of Tabasco and Worcestershire sauces, and then a big pinch of cumin, turmeric, and the seasoning dry rub). Bring everything to a boil – then lower the heat and simmer.

The length you let the stew simmer is up to the grain you choose.  I added brown basmati rice – so all together I let it simmer for 35 minutes.  At the end, you will have a hearty, delicious stew.  I may not look like much – but it will knock your socks off (not to boast of my culinary skills 🙂

Soreness

Oye vei!  I woke up very sore and very hungry this morning.  I guess yoga and a run was too much for my recovering muscles – today we have a six-mile run scheduled.  I may hit the gym and run on the treadmill, then soak in the hot tub.  Is it bad that I have a gym membership basically to have access to a sauna and hot-tub?  Do you have a gym membership that you under utilize?

On to hunger – last night’s dinner was 1 chocolate chip cookie and 1 glass of red wine.   Not exactly the dinner of champions 😦

Oats were essential for today’s breakfast.  Here’s what I used: 1/2 cup of oats, 1/2 cup of soy milk, 1/2 cup of water, pinch of brown sugar, 1tbsp of raisins, ground flax, cinnamon, and a heaping spoonful of walnut butter.

This is actually the first time I have added a nut butter to my oats…it’s so delicious.  Adds a great creaminess to the mixture.

Creature of habit

Good afternoon ‘all!

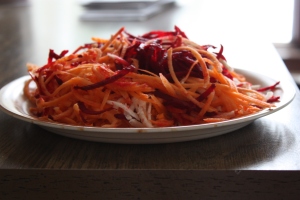
I was feeling very good after my cleansing breakfast – so I decided to stay raw for lunch as well.  I may have mentioned before but one of my favorite salads and dressings was created by Gena — Root Vegetable Salad with Maple Cinnamon Vinaigrette is divine!  I always make extra dressing because this stuff doesn’t last long in our house.  I make this salad every week with a few changes.  I use a whole sweet potato, beet, 3 carrots, a parsnip, and a turnip and shred the veggies with my food processor.  I always use the whole vegetable to make lots of left-overs.

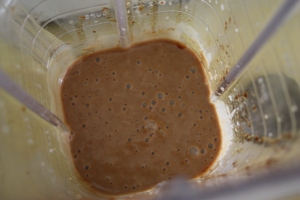
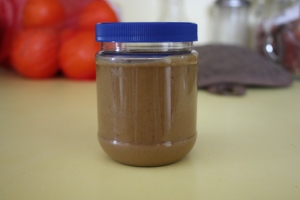
Then I use a blender to mix-up the dressing.  Honestly, you must try this dressing!  I use old glass jars to store the extra dressing.

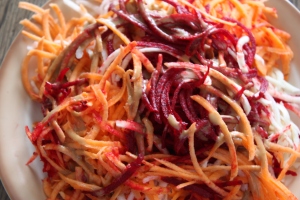
Pile the veggies high on a plate (I had this x’s 2) and then dress generously.  Not only is this delightful to eat, the colors are amazing!

For the past year, I have been moving towards more and more homemade salad dressings.  I typically just use a mixture of EVOO, Apple Cider or Rice Vinegar dressing – for a special salad (like today) I make a specific dressing.  For the longest time I only used Annie’s Green Goddess Dressing.  What’s your favorite salad dress?

Raw Walnut Butter

Walnuts are one of nature’s most nutrient-dense foods. They are an excellent source of omega-3 fatty acids and a healthy protein.

Besides all of the health benefits, I think walnuts are just plain yummy.  Walnuts have a smoother taste than other nuts.  I haven’t seen many walnut butters on the market – and while trying to avoid work yesterday I decided to try and make my own walnut butter.  I based this recipe off of Susan’s Almond Butter.

Cinnamon Walnut & Cashew Butter

Ingredients

  • 1 1/2 cups of chopped walnuts
  • 1/2 cup of cashews
  • 1 tbsp of honey
  • 1 tbsp of cinnamon

Place walnuts & cashews in food processor.  Process for 8-10 minutes. You will need to scrape down the sides in the beginning. Add the honey and cinnamon after it is done processing – if you add them before the mixture will stop processing.

30 seconds after processing

2 minutes after processing - scrap the sides down

After 3-4 minutes - the mixture will start to clump together

Around 6 minutes the mixture formed a ball - let it keep going. Around 8 minutes it will begin to redistribute.

Make sure to wait until the oils release from the nuts.  Once the walnuts & cashews have released their oils – enjoy or add the honey and cinnamon.

Nutritional Information (per tablespoon):
Calories – 95
Total Fat – 9 g
Saturated Fat – 1g
Cholesterol – 0mg
Sodium – 0mg
Fiber – 1.2g
Protein – 3.35g

Food for the road

Sorry I’ve been MIA the last day. I had to head back to Vermont and go into my company’s headquarters for a meeting.  So in preparation for a six-hour drive and overnight stay – I made some soup for the road.

On Wednesday, I made Rustic Tomato Lentil Soup from How it all Vegan.  I didn’t have much fresh produce – so I used canned tomatoes, carrots, and added green beans.  This soup was rich and hearty.

Use a huge pot when making this soup.  I packed up a few containers of the soup and leftover potpie for the road. Soup might not be the most practical thing to eat on the road but I warmed it up at the office and then again in my hotel room for the night – a great way to eat healthy when not at home.

I got home a few hours ago and wanted something quick and easy – I turned to my go to meal – tofu stir fry with rice.  I used some prepackaged rice and then sautéed tofu, red and green bell peppers, and water chestnuts on the stove – I added cayenne pepper, curry powder, salt & pepper to the tofu and veggies then added the rice to the mixture once it was done simmering.  In 30 minutes the meal was complete!

I enjoyed probably two servings of this and a glass of Louis Martini Cabernet Sauvignon.  Now I’m off to relax and watch the Olympics.

Vegetable Potpies with Sweet Potato Biscuit Crust

While traveling over the holidays (or being stuck in O’Hare for a few extra hours due to a cancelled flight), I read the December Food & Wine magazine and ran across a recipe for Vegetable Potpies with Sweet Potato Biscuit Crust. First, I am so impressed that mainstream (gourmet) food magazines are starting to incorporate more and more vegetarian recipes into their magazines.  Food & Wine and Bon Appetite each had complete spreads devoted to vegetarian meals in their December issues!

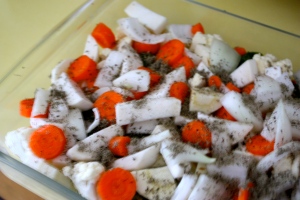
The recipe was fairly easy to follow but was a bit time-consuming, I probably spent 2.5 hours total working on the meal.  I deviated a bit from the recipe – I used brussel sprouts, a parsnip, a turnip, 1/2 chopped onion, 1/2 sweet potato, and two carrots for the veggies.  I didn’t have fresh sage or thyme so I just used dry and estimated on how much to put in.

I spread canola oil (probably 4 tablespoons) over the veggies prior to putting them in the oven

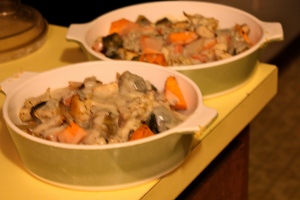
To make the gravy type sauce – I used soy milk and omitted the heavy cream.  The gravy turned out pretty good. I added it to the veggie mixture after the veggies were done roasting.  I didn’t have ramekins to make individual sized portions – so I just used two medium-sized ceramic bowls.

Veggies with gravy

I may have had a few glasses of wine while working on this.  I may have also been convinced to buy this bottle after a few too many samples at the wine shop on Saturday.  This is a great table red wine – light,  has a bit of spice, but not too bold – hence drinking a few glasses this evening…be warned the wine goes down very easy.

Nero D'Avola

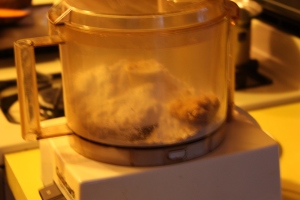
I used my food processor to make the dough – added the dry ingredients and then added the wet.  I used soy milk instead of buttermilk.

Dry ingredients for dough in food processor

After dough formed in the processor, I moved it to a floured surface and kneaded it a few times (not really sure what is kneading but I rolled it around a few times and smoothed it out).  Then I rolled it out to about 1/4 inch thick and used my ceramic bowls to cut out crusts for the potpies.

Biscuit crusts cut and waiting to be added to potpies for final baking.

I then added the biscuit crusts on top of the ceramic bowls.  I didn’t have an egg to glaze the top with so I used some oil and then put them into the oven for 15 minutes.

Potpies & Biscuit crusts cooling after baking for 15 minutes

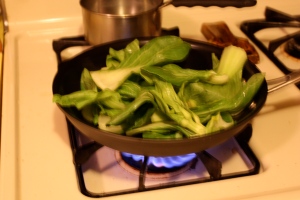
While the potpies were baking I sautéed some baby bok choy.

Washing and prepping bok choy

Olive oil into pan

Bok choy into pan with oil

Bok choy after 5 minutes of sautéing

I may have finished the wine while cooking so for dinner I had to improvise!

This recipe is probably enough to feed 4 people as entrees and 6-8 as a side dish.

BON APPETITE!

From Paris to our table

So I hope everyone has seen Julie & Julia (if you have not — please see it  or read  the book –  the book is even better!).  Julie becomes inspired to learn to cook and uses Julia Child’s revolutionary Mastering the Art of French Cooking as her guide.  Julie is particularly drawn to Boeuf Bourguignon – she remembers her mom making this recipe for a very important dinner while she was growing up.

Anyway, Jason and I had just seen this movie when we began planning our honeymoon.  We knew right away that we wanted to go to Paris.  While we were there, Jason set forth on a mission to try an authentic version of bouef bourguignon.  He tried the original meat version at a few restaurants – and honestly wasn’t too impressed. Then on our last day in Paris – we made our way to Le Potager Du Marais.

This was a very highly recommended VEGAN restaurant (looks like a hole in the wall but it was incredible – very authentic in the Marais district).  We went a bit late to miss the lunch rush – and found a few other patrons sitting at one long table -about 20 people could comfortably sit in the restraurant.

The food was amazing!  We each started off with a soup of the day and then ordered some wine and entrees.  I had a quinoa veggie burger (very tasty) and Jason ordered SEITAN BOURGUIGNON. Now this dish was definitely the highlight of our meal – and much better than the meat versions.  I’ve been itching to recreate it since we left Paris.  So below is my version of Seitan Bourguignon (based off a recipe from The Modern Vegetarian Kitchen by Peter Berley).

After making the seitan (or you can used purchased seitan), I began preparing the marinade.  I began by chopping some garlic (about 6 cloves) and sauteing it in 1 cup of extra virgin olive oil – to make a garlic infused oil.

I let the garlic saute for about 5 minutes then seperated the garlic and the oil and set each aside to use later.  Next comes the marinade’s key ingrediant – RED WINE!

When selecting a wine – I usually just use whatever we have around the house. This has been our wine of choice recently (it’s great – not too dry and hints of black cherry and walnuts).  In a mixing bowl – pour two cups of wine.  Next add some thyme, sage, and parsley (I used dry but fresh would be great – I would suggest making a bouquet garni if using fresh), a few tablespoons of soy sauce (about 4), 2 tablespoons of sugar, and some fresh ground salt and pepper.  Whisk all this together and then add a few bay leaves and some orange zest (i used about 4 strips).

Add the seitan – make sure all the seitan is covered.  If you need some more liquid – add water or vegetable stock.

Cover the bowl with a plate and set aside to marinate for one hour at room tempature.  While the seitan marinates, I prepped the veggies.  I used two carrots, two celery ribs, one large onion, two potatoes, and one package of baby bella mushrooms.
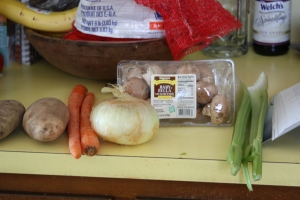
Chop the onion and set aside. Next peel the carrots and potatoes, and chop the carrots, potatoes, and celery – set these aside.  Prep the mushrooms – clean them, get ride of their stems, and quarter or half the caps depending on their size and set these aside.   Add a few tablespoons of the garlic oil to a deep casserole dish or stock pan, after the oil heats up add the onion and saute until it begins to soften (about 5 minutes).
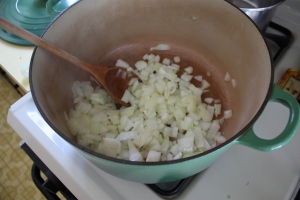
Then add the carrots, potatoes, and celery.

After letting the veggies saute together for a few minutes – add a few tablespoons of tomato paste and a tablespoon of white flour.  Cook for a few more minutes – stir often to prevent sticking to the bottom.  Preheat the oven to 375 degrees.

Around this time – the seitan should have marinated for the full hour.  Remove the seitan from the marinade and arrange them in a large baking dish.

Remove the bay leaves and orange zest from the marinade (and bouquet garni if you had one).  Pour all but 1/4 cup of the marinade over the sauteing veggies.  I also added two cups of veggie stock – I wanted all the veggies to be submerged in liquid.
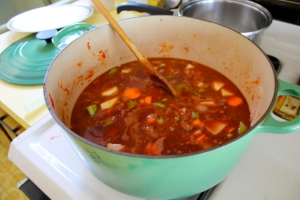
Stir the dish well and bring the stew up to a boil.  Once boiling, stir well, lower the heat – to low or whatever works on your stove for a simmer – cover the dish and let simmer for 45 minutes.

With the left over marinade (the 1/4 cup), toss in the mushrooms and a few more tablespoons of the garlic oil.  Next, pour the mushrooms and marinade over the seitan in the baking dish – make sure the marinade spreads evenly in the dish – add more oil if additional liquid is needed.  Make sure the seitan and mushrooms are in one layer.  Roast the mixture in the oven for 30 minutes.  Make sure to stir this occasionally – I did not and my seitan formed together in parts of the dish.

Remove the dish from the oven and add the seitan and mushroom mixture to the veggies and marinade on the stove.  Stir to combine the two parts of the dish.  I also added the rest of the garlic oil at this point.

Now – just let this bad boy simmer for another 10 – 15 minutes and enjoy!

BON APPETITE!